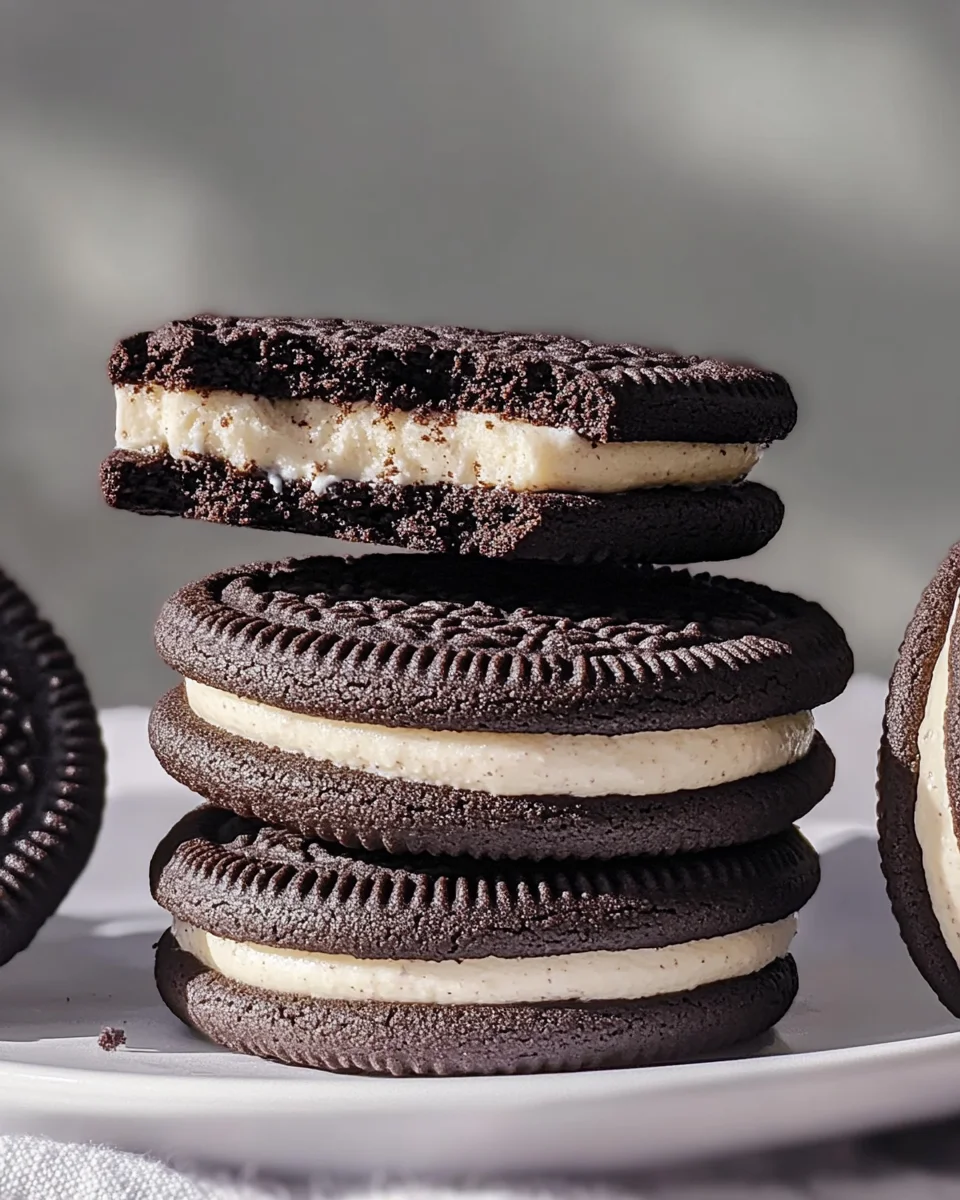
Homemade Oreo Cookies
Homemade Oreo Cookies taste just like the famous store-bought sandwich cookies – but better! These delightful treats are easy to whip up in your own kitchen and can be customized with a variety of flavored fillings to suit your tastes. Whether you’re hosting a party, looking for a sweet snack, or simply craving something delicious, these homemade Oreos will impress everyone. Their rich chocolate flavor and creamy filling make them perfect for any occasion.
Why You’ll Love This Recipe
- Easy to Make: This recipe is straightforward, making it ideal for both beginners and seasoned bakers.
- Customizable Fillings: You can easily switch up the filling flavors to make double-stuffed or even experiment with unique tastes.
- Perfect for Sharing: With 15 sandwich cookies, they’re great for parties, picnics, or simply enjoying with family.
- Rich Flavor: These cookies boast a deep chocolate taste that surpasses the store-bought version.
- Fun Activity: Baking these cookies can be an enjoyable activity to do with kids or friends.
Tools and Preparation
Before diving into making your Homemade Oreo Cookies, gather your tools and prepare your workspace. Having everything ready will streamline the process and enhance your baking experience.
Essential Tools and Equipment
- Mixing bowls
- Measuring cups
- Measuring spoons
- Baking sheets
- Parchment paper
- Electric mixer (optional)
Importance of Each Tool
- Mixing bowls: Essential for combining ingredients efficiently without spills.
- Baking sheets: Provides a flat surface for even baking of cookies.
- Electric mixer: Makes creaming butter and sugar easier, especially when working with larger quantities.
Ingredients
Homemade Oreo Cookies taste just like the famous store-bought sandwich cookies – but better! These delicious homemade Oreos are easy to make and can be customized with your favorite flavored filling (double-stuffed if you prefer!).
For the Cookies
- 1 1/4 cups (159 grams) all-purpose flour
- 1/2 cup (43 grams) Dutch-process cocoa powder or Black cocoa powder
- 1 teaspoon baking soda
- 1/4 teaspoon baking powder
- 1/4 teaspoon fine sea salt
- 1 cup (200 grams) granulated sugar
- 10 tablespoons (142 grams) unsalted butter, at a cool room temperature, cut into chunks
- 1 large egg, at room temperature
For the Filling
- 1 stick (113 grams) unsalted butter, at a cool room temperature
- 2 ½ teaspoons pure vanilla extract
- 2 1/2 cups (313 grams) powdered sugar, sifted
- 1/8 teaspoon fine sea salt
How to Make Homemade Oreo Cookies
Step 1: Preheat the Oven
Preheat your oven to 350°F (175°C). This ensures that the cookies bake evenly.
Step 2: Mix Dry Ingredients
In a mixing bowl, combine:
1. All-purpose flour
2. Cocoa powder
3. Baking soda
4. Baking powder
5. Sea salt
Whisk together until well combined.
Step 3: Cream Butter and Sugar
In another mixing bowl:
1. Add granulated sugar and cut chunks of unsalted butter.
2. Use an electric mixer on medium speed until light and fluffy.
Step 4: Add Egg and Vanilla
Add the large egg and pure vanilla extract to the creamed mixture. Mix until fully incorporated.
Step 5: Combine Wet and Dry Mixtures
Gradually add the dry ingredients to the wet mixture. Mix on low speed until just combined. Do not overmix.
Step 6: Shape Cookies
Using a tablespoon or cookie scoop:
1. Portion out dough onto prepared baking sheets lined with parchment paper.
2. Leave space between each cookie as they will spread while baking.
Step 7: Bake Cookies
Bake in the preheated oven for about 10 minutes until set but still soft in the center.
Step 8: Cool Cookies
Once baked, remove from oven and let cool on baking sheets for a few minutes before transferring them to wire racks to cool completely.
Step 9: Prepare Filling
While cookies cool:
1. In a mixing bowl, cream together softened unsalted butter with sifted powdered sugar until smooth.
2. Add sea salt and mix well.
Step 10: Assemble Sandwiches
Spread filling onto half of the cooled cookies and top with another cookie to create sandwiches.
Enjoy your delicious Homemade Oreo Cookies fresh or store them in an airtight container!
How to Serve Homemade Oreo Cookies
Homemade Oreo Cookies are a delightful treat that can be enjoyed in various ways. Whether you’re hosting a party or enjoying a cozy night in, these cookies can be served in creative and delicious manners.
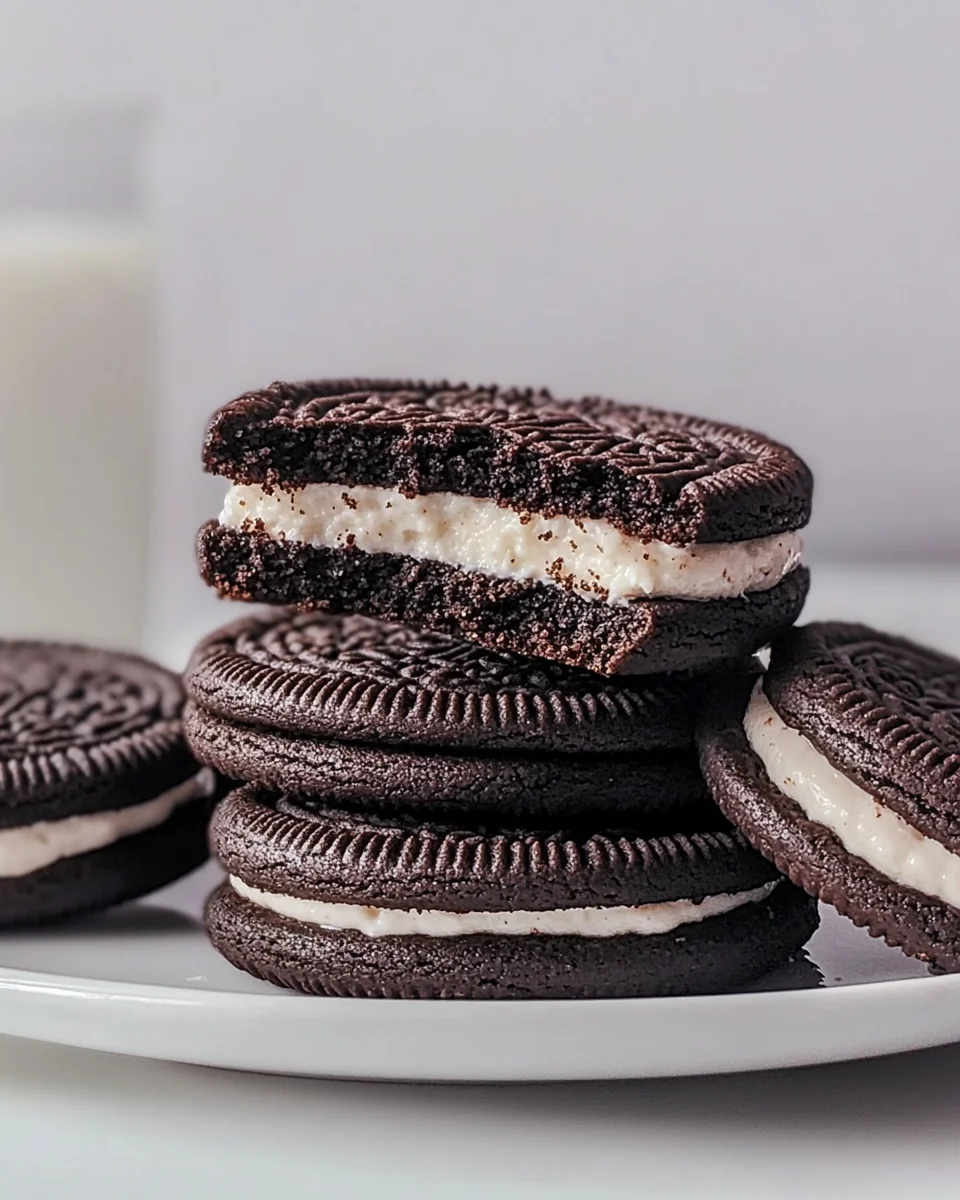
With Milk
- Pair your cookies with a glass of cold milk for the classic experience. The cream filling complements the richness of the milk perfectly.
As Ice Cream Sandwiches
- Place a scoop of your favorite ice cream between two cookies for a fun dessert. This makes for a refreshing treat on hot days.
With Coffee
- Enjoy your cookies alongside a warm cup of coffee. The chocolate flavor of the cookies balances well with the bitterness of the brew.
Crumbled Over Desserts
- Crush your homemade Oreos and sprinkle them over desserts like pudding or cheesecake for added texture and flavor.
Gift Them
- Wrap your cookies in decorative boxes or bags to share with friends and family. They make thoughtful gifts for any occasion!
How to Perfect Homemade Oreo Cookies
To achieve the best homemade Oreo cookies, consider these helpful tips that will elevate your baking game.
- Use Room Temperature Ingredients: This helps in creating a smooth dough that mixes well, leading to even baking.
- Sift Dry Ingredients: Sifting flour and cocoa powder prevents lumps and ensures an even distribution throughout the dough.
- Chill the Dough: Refrigerate your cookie dough for at least 30 minutes before baking. This helps enhance flavors and prevents spreading during baking.
- Watch Baking Time Carefully: Each oven is different; keep an eye on your cookies to avoid overbaking. They should look slightly soft when you take them out.
- Experiment with Fillings: Feel free to try different flavored fillings, such as peppermint or peanut butter, to give your homemade Oreos a unique twist.
- Store Correctly: Keep your cookies in an airtight container at room temperature to maintain their freshness for longer.
Best Side Dishes for Homemade Oreo Cookies
While Homemade Oreo Cookies are delicious on their own, pairing them with complementary side dishes can enhance your dessert experience. Here are some great options:
-
Fresh Fruit Salad
A vibrant mix of seasonal fruits adds freshness and balances out the sweetness of the cookies. -
Chocolate Pudding
Smooth chocolate pudding creates a rich, indulgent pairing that cookie lovers will appreciate. -
Vanilla Ice Cream
Creamy vanilla ice cream provides a classic contrast to the rich flavors of homemade Oreos. -
Cheesecake Bites
Mini cheesecake bites offer creamy goodness that pairs well with the crunchy texture of cookies. -
Nutty Trail Mix
A handful of nutty trail mix adds crunch and savory notes, making it a great snack option alongside sweets. -
Milkshakes
Blend up a milkshake using chocolate or vanilla ice cream for an extra sweet treat that complements the Oreos perfectly. -
Coffee or Tea
A warm beverage adds comfort and enhances the overall dessert experience when paired with these delightful cookies. -
Brownie Bites
These fudgy treats create an indulgent pairing for those who can’t get enough chocolate!
Common Mistakes to Avoid
Making Homemade Oreo Cookies can be simple, but a few common mistakes can lead to disappointing results. Here are some pitfalls to watch out for:
-
Using the wrong cocoa powder: Always opt for Dutch-process or Black cocoa powder. Regular cocoa won’t give you the same rich flavor and color.
-
Not measuring ingredients accurately: Baking is a science. Use a kitchen scale or proper measuring cups to ensure you get the correct amounts.
-
Overmixing the dough: Mix just until combined to avoid tough cookies. Overmixing develops gluten, which can make your cookies chewy instead of crisp.
-
Skipping room temperature ingredients: For best results, use butter and eggs at room temperature. This helps create a smoother batter and better texture.
-
Ignoring cooling time: Let the cookies cool completely before adding the filling. This prevents the filling from melting and ensures a perfect sandwich cookie.
Storage & Reheating Instructions
Refrigerator Storage
- Store in an airtight container to keep them fresh.
- Homemade Oreo Cookies will last up to one week in the refrigerator.
Freezing Homemade Oreo Cookies
- Wrap individual cookies tightly in plastic wrap.
- Place them in a freezer-safe bag or container; they can be frozen for up to three months.
Reheating Homemade Oreo Cookies
- Oven: Preheat to 350°F (175°C) and warm cookies for about 5 minutes.
- Microwave: Heat for about 10-15 seconds for a soft, gooey treat.
- Stovetop: Place in a skillet on low heat for a few minutes, flipping occasionally.
Frequently Asked Questions
What makes these Homemade Oreo Cookies different from store-bought?
These homemade cookies allow you to customize the filling and adjust sweetness according to your taste, making them fresher and more personal than store-bought versions.
Can I make these cookies gluten-free?
Yes! Substitute all-purpose flour with a gluten-free blend that works well in baking for delicious gluten-free Homemade Oreo Cookies.
How do I make my filling more flavorful?
Experiment with flavored extracts like mint or almond, or try adding cocoa powder for a chocolatey twist to your filling!
Can I double this recipe?
Absolutely! Just double all ingredients and keep an eye on baking time, as it may vary slightly with larger batches of dough.
How long do these Homemade Oreo Cookies stay fresh?
When stored properly, they can last up to one week in the refrigerator or three months in the freezer without losing flavor.
Final Thoughts
Homemade Oreo Cookies are not only delightful but also versatile. You can mix up flavors and fillings based on your preferences. Whether you want classic vanilla or something more adventurous like mint or peanut butter, the options are endless. Try making these today for a delicious treat that everyone will love!
Homemade Oreo Cookies

Homemade Oreo Cookies are a delightful twist on the classic favorite, offering a rich chocolate flavor and creamy filling that surpasses any store-bought option. These cookies are not only easy to make but also customizable, allowing you to experiment with different fillings such as mint or peanut butter. Perfect for any occasion, from family gatherings to cozy nights in, this recipe will impress both kids and adults alike. Get ready to indulge in these decadent treats that bring nostalgia and comfort with every bite!
- Prep Time: 15 minutes
- Cook Time: 10 minutes
- Total Time: 25 minutes
- Yield: Approximately 15 cookies 1x
- Category: Dessert
- Method: Baking
- Cuisine: American
Ingredients
- 1 1/4 cups all-purpose flour
- 1/2 cup Dutch-process cocoa powder
- 1 teaspoon baking soda
- 1/4 teaspoon baking powder
- 1/4 teaspoon fine sea salt
- 1 cup granulated sugar
- 10 tablespoons unsalted butter, at room temperature
- 1 large egg, at room temperature
- 1 stick unsalted butter, at a cool room temperature (for filling)
- 2 ½ teaspoons pure vanilla extract (for filling)
- 2 1/2 cups powdered sugar, sifted (for filling)
- 1/8 teaspoon fine sea salt (for filling)
Instructions
- Preheat your oven to 350°F (175°C).
- In a bowl, whisk together flour, cocoa powder, baking soda, baking powder, and sea salt.
- In another bowl, cream together sugar and butter until light and fluffy.
- Mix in the egg and vanilla until well combined.
- Gradually add dry ingredients to the wet mixture; mix until just combined.
- Scoop tablespoon-sized portions onto parchment-lined baking sheets.
- Bake for about 10 minutes; let them cool before transferring to wire racks.
- For the filling, beat butter with powdered sugar and vanilla until smooth; spread between cooled cookies.
Nutrition
- Serving Size: 1 cookie (30g)
- Calories: 150
- Sugar: 10g
- Sodium: 80mg
- Fat: 8g
- Saturated Fat: 5g
- Unsaturated Fat: 2g
- Trans Fat: 0g
- Carbohydrates: 18g
- Fiber: 1g
- Protein: 2g
- Cholesterol: 20mg