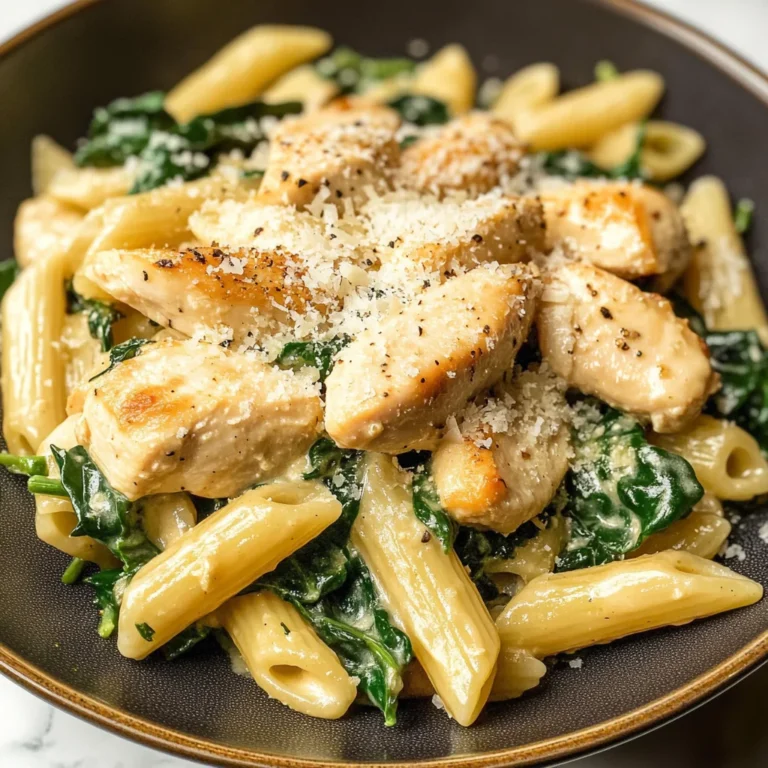
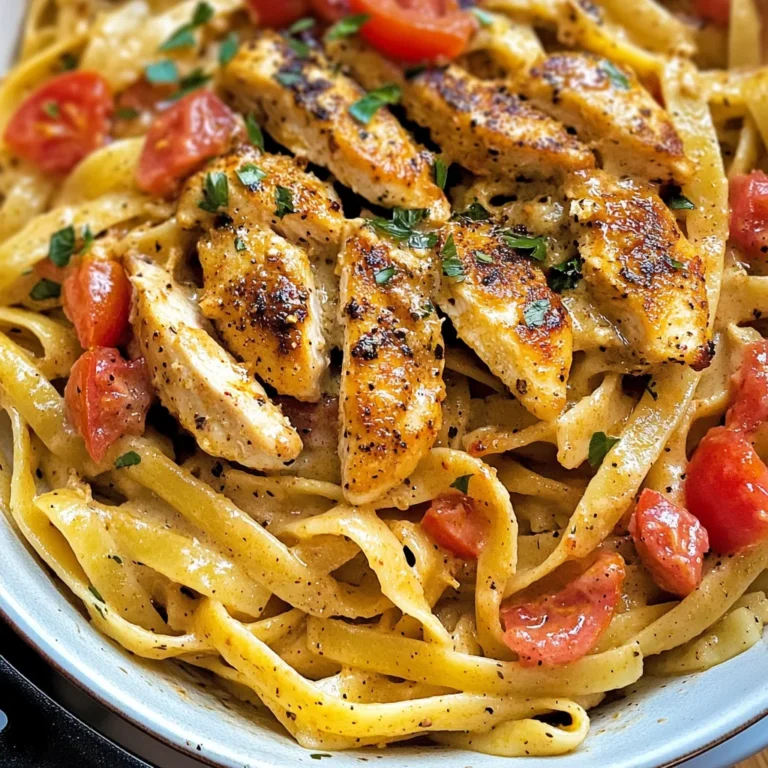
Chicken Romano
If you’re looking for a delightful dish that will impress your family without spending all day in the kitchen, then Chicken Romano is just what you need! This recipe has become a favorite of mine because it’s not only quick and easy but also packed with flavor. Whether you’re rushing through a busy weeknight dinner or hosting a family gathering, this dish always hits the spot. Trust me, once you try it, you’ll be making it again and again!
What I love most about Chicken Romano is how simple and wholesome the ingredients are. It’s comforting food that brings everyone to the table, and I guarantee you’ll enjoy every bite.
Why You’ll Love This Recipe
- Quick to Prepare: In just 40 minutes, you can have a delicious meal on the table.
- Family-Friendly: Kids and adults alike will love the crispy texture and cheesy flavor.
- Make-Ahead Friendly: You can prep the chicken ahead of time for an effortless dinner.
- Flavor Packed: The combination of Romano cheese and spices creates an irresistible taste.
- Versatile: Perfect for any occasion, from casual dinners to special celebrations.
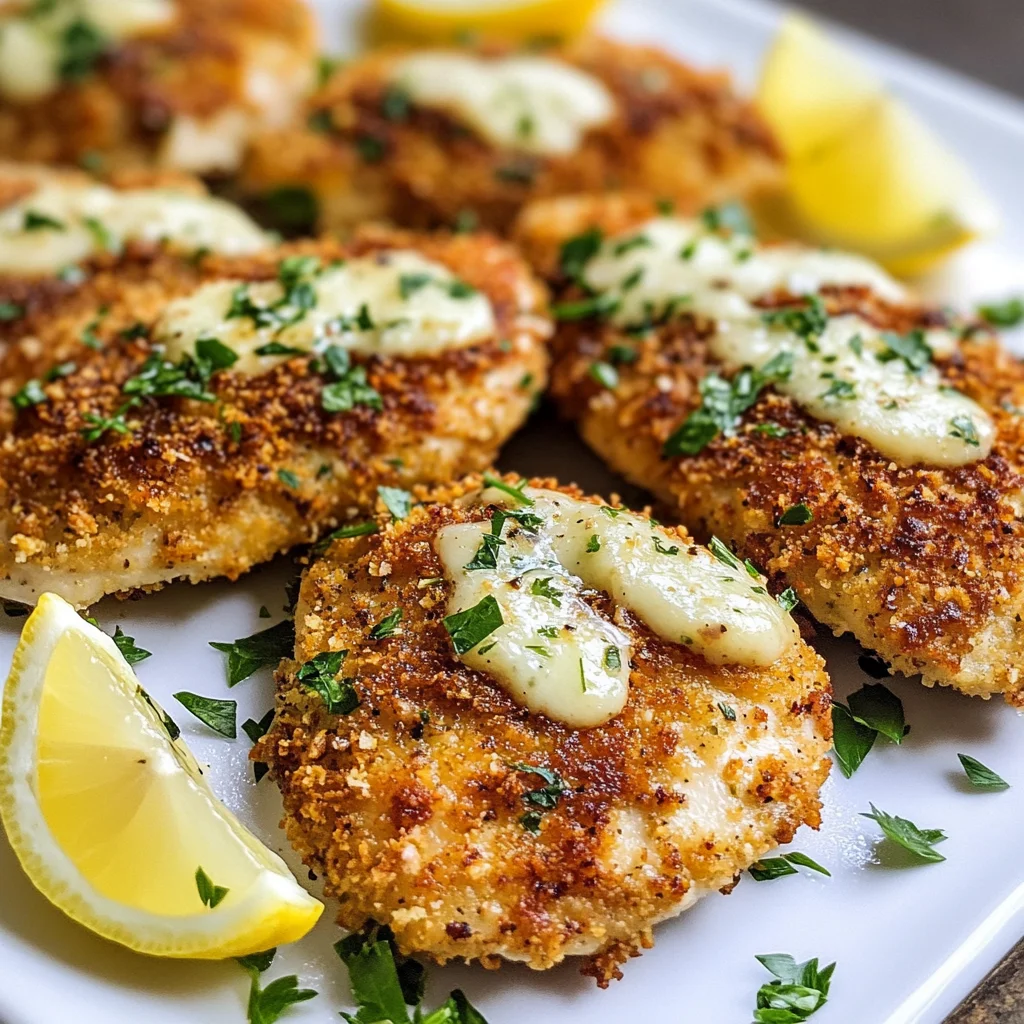
Ingredients You’ll Need
To make this Chicken Romano dish, you’ll only need some simple, wholesome ingredients that are likely already in your kitchen. Let’s take a look at what you’ll need!
For the Chicken Coating
- 4 boneless, skinless chicken breasts
- ½ cup all-purpose flour
- 2 large eggs
- ¼ cup milk
- 1 cup grated Romano cheese
- 1 cup Italian-style breadcrumbs
For Seasoning
- ½ teaspoon salt
- ½ teaspoon black pepper
- ½ teaspoon garlic powder
- ½ teaspoon paprika
For Cooking
- ¼ cup olive oil (for frying)
- 2 tablespoons unsalted butter
For Garnish
- Fresh parsley, chopped (for garnish)
- Lemon wedges (for serving)
Variations
This Chicken Romano recipe is quite flexible! Here are a few fun tweaks you can try to make it your own:
- Swap the protein: Use turkey cutlets or even eggplant slices for a vegetarian option!
- Add extra spice: If you like things spicy, sprinkle in some red pepper flakes or cayenne pepper.
- Try different cheeses: Parmesan or mozzarella can replace Romano for a different flavor profile.
- Change up the sides: Serve with roasted veggies or a fresh salad for an even healthier meal.
How to Make Chicken Romano
Step 1: Prepare the Chicken
Start by placing your chicken breasts between two sheets of plastic wrap. Gently pound them with a meat mallet until they are about ½ inch thick. This step ensures even cooking and helps tenderize the meat. Plus, it gives the chicken a nice surface area to hold onto that delicious coating!
Step 2: Set Up Your Dredging Station
In three separate shallow dishes, set up your dredging station: one with flour mixed with salt and pepper, one with beaten eggs and milk, and another with breadcrumbs mixed with Romano cheese, garlic powder, and paprika. This organized setup makes coating each piece of chicken easy and fun!
Step 3: Coat the Chicken
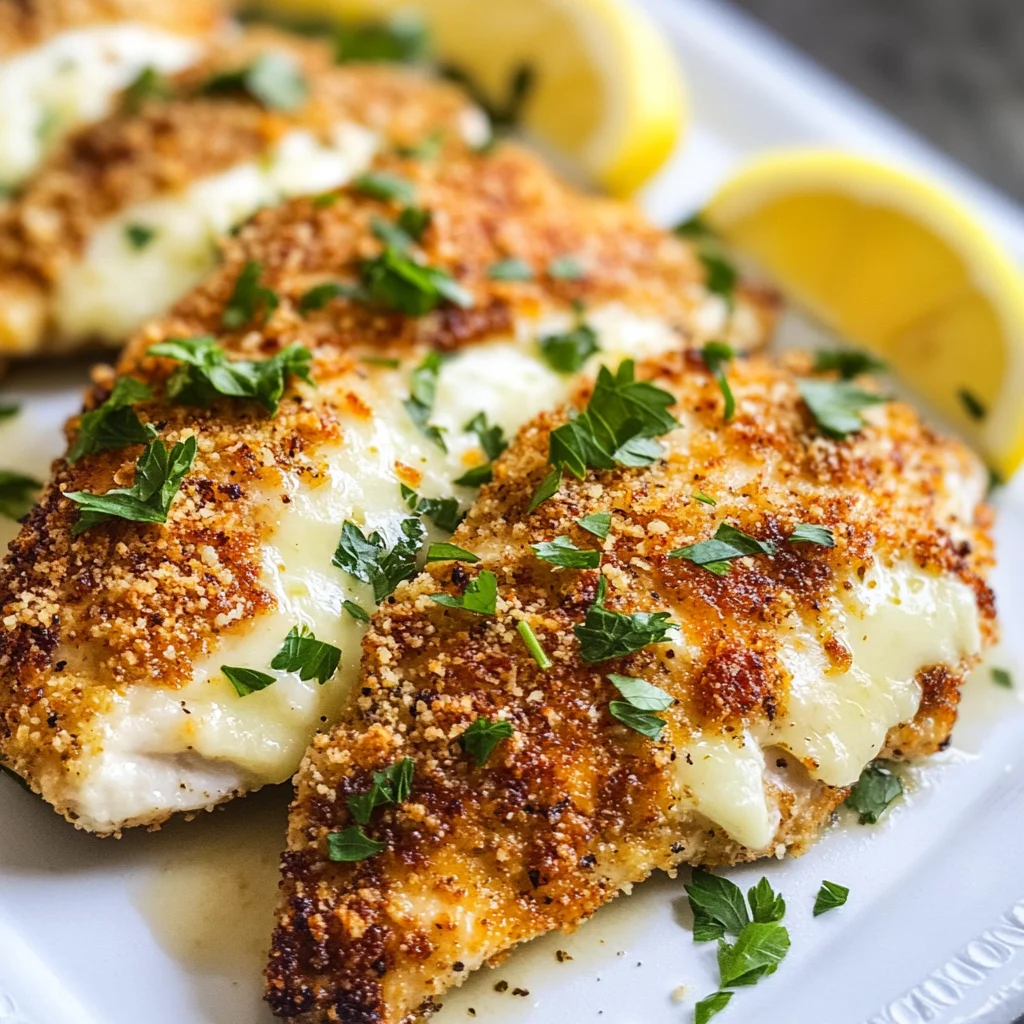
Dredge each chicken breast first in the flour mixture to help everything stick. Then dip it into the egg mixture before coating it generously with the breadcrumb mixture. Press down slightly to ensure that each piece is well-coated—this breadcrumb crust is what gives Chicken Romano its signature crunch!
Step 4: Fry Until Golden
In a large skillet over medium heat, combine olive oil and butter until melted. Once hot, carefully add your coated chicken breasts in batches (don’t overcrowd!). Fry them for about 5-7 minutes on each side until they are golden brown and cooked through. The aroma will be heavenly!
Step 5: Serve & Enjoy!
Once cooked, transfer your Chicken Romano to a plate lined with paper towels to drain any excess oil. Garnish with chopped parsley and serve alongside lemon wedges for an extra zesty kick! Enjoy this comforting meal with loved ones—you deserve it!
Pro Tips for Making Chicken Romano
Cooking can be a delightful adventure, and with these pro tips, you’ll elevate your Chicken Romano to new heights!
-
Choose the right chicken breasts: Opt for fresh, high-quality chicken breasts to ensure your dish is tender and juicy. Avoid overly processed options that may lack flavor and texture.
-
Pound the chicken evenly: Gently pound the chicken breasts to an even thickness before breading. This helps them cook uniformly, ensuring a moist interior and crispy exterior.
-
Season every layer: Don’t forget to season the flour, egg mixture, and breadcrumb coating. A little salt and pepper in each layer enhances the overall flavor of your dish.
-
Use a thermometer: For perfectly cooked chicken, use a meat thermometer to check for doneness. The internal temperature should reach 165°F (75°C) to ensure safety and juiciness.
-
Let it rest before serving: Allowing the cooked Chicken Romano to rest for about 5 minutes after frying helps redistribute juices, resulting in a more flavorful bite.
How to Serve Chicken Romano
Presenting your Chicken Romano beautifully can make mealtime feel extra special! Here are some ideas on how to serve this delicious dish.
Garnishes
- Chopped fresh parsley: Sprinkle some colorful chopped parsley over the top just before serving for a pop of color and freshness.
- Lemon wedges: Serve with lemon wedges on the side. The acidity brightens up the flavors of the chicken beautifully!
Side Dishes
-
Garlic mashed potatoes: Creamy and buttery mashed potatoes infused with garlic provide a comforting base that pairs perfectly with Chicken Romano’s rich flavors.
-
Steamed green beans: Crisp-tender green beans tossed with olive oil and garlic add a lovely crunch and vibrant color to your plate.
-
Caesar salad (without anchovies): A classic Caesar salad with crunchy romaine lettuce, croutons, and a tangy dressing complements the richness of the chicken while adding refreshing crunch.
-
Roasted vegetables: A medley of seasonal roasted vegetables like bell peppers, zucchini, and carrots brings color, nutrients, and a sweet contrast to the savory chicken.
Enjoy your culinary creation! Whether it’s a weeknight dinner or a special occasion, this Chicken Romano is sure to impress.
Make Ahead and Storage
This Chicken Romano recipe is perfect for meal prep! Not only does it taste delicious, but it also stores well and can be enjoyed throughout the week.
Storing Leftovers
- Allow the chicken to cool completely before storing.
- Place leftovers in an airtight container in the refrigerator.
- Consume within 3-4 days for the best flavor and freshness.
Freezing
- Wrap each piece of Chicken Romano tightly in plastic wrap or aluminum foil.
- Place wrapped chicken in a freezer-safe bag or container.
- Freeze for up to 2 months. Label with the date so you know when to enjoy it!
Reheating
- Thaw frozen chicken in the refrigerator overnight before reheating.
- Preheat your oven to 350°F (175°C).
- Place the chicken on a baking sheet and cover with foil to retain moisture.
- Bake for about 15-20 minutes, or until heated through. Alternatively, reheat on the stovetop over medium heat with a little olive oil until warmed.
FAQs
Here are some common questions you might have about this delightful dish.
Can I use another cheese instead of Romano for Chicken Romano?
Absolutely! While Romano adds a unique flavor, you can substitute it with Parmesan or a blend of Italian cheeses that suit your taste.
What sides go well with Chicken Romano?
Chicken Romano pairs beautifully with a fresh salad, roasted vegetables, or pasta tossed in olive oil and garlic. Choose your favorite sides to make a complete meal!
How do I make Chicken Romano crispy?
To achieve that perfect crunch, ensure your breadcrumbs are well-coated on the chicken and fry them at the right temperature. A good layer of cheese also helps create that desirable crispiness!
Can I prepare Chicken Romano ahead of time?
Yes! You can bread the chicken ahead of time and store it in the fridge until you’re ready to cook. This makes weeknight dinners super convenient!
Final Thoughts
I hope you find joy in preparing this Chicken Romano recipe as much as I do! It’s a beautiful dish that combines simplicity and flavor, making it perfect for any dinner table. Enjoy every bite, share it with loved ones, and don’t hesitate to get creative with your sides. Happy cooking!
Chicken Romano
If you’re in search of a delightful and satisfying dish that brings everyone to the table, Chicken Romano is your answer! This easy-to-follow recipe features tender chicken breasts coated in a crispy, cheesy crust that’s bursting with flavor. Perfect for busy weeknights or family gatherings, this meal can be ready in just 40 minutes. The combination of Romano cheese and spices not only tantalizes the taste buds but also makes for an impressive presentation. With its wholesome ingredients and comforting taste, Chicken Romano is destined to become a new favorite in your household.
- Prep Time: 15 minutes
- Cook Time: 25 minutes
- Total Time: 40 minutes
- Yield: Serves 4
- Category: Main
- Method: Frying
- Cuisine: Italian
Ingredients
- 4 boneless, skinless chicken breasts
- ½ cup all-purpose flour
- 2 large eggs
- ¼ cup milk
- 1 cup grated Romano cheese
- 1 cup Italian-style breadcrumbs
- ¼ cup olive oil (for frying)
- 2 tablespoons unsalted butter
Instructions
- Prepare the chicken by placing breasts between plastic wrap and pound them to about ½ inch thick.
- Set up three shallow dishes: one with seasoned flour, one with beaten eggs mixed with milk, and another with breadcrumbs combined with Romano cheese and spices.
- Dredge each chicken breast first in flour, then dip in egg mixture, and finally coat generously with the breadcrumb mixture.
- In a skillet over medium heat, melt olive oil and butter. Fry each chicken breast for about 5-7 minutes on each side until golden brown and cooked through.
- Serve garnished with chopped parsley and lemon wedges.
Nutrition
- Serving Size: 1 chicken breast (150g)
- Calories: 413
- Sugar: 2g
- Sodium: 526mg
- Fat: 23g
- Saturated Fat: 8g
- Unsaturated Fat: 14g
- Trans Fat: 0g
- Carbohydrates: 28g
- Fiber: 1g
- Protein: 25g
- Cholesterol: 135mg


