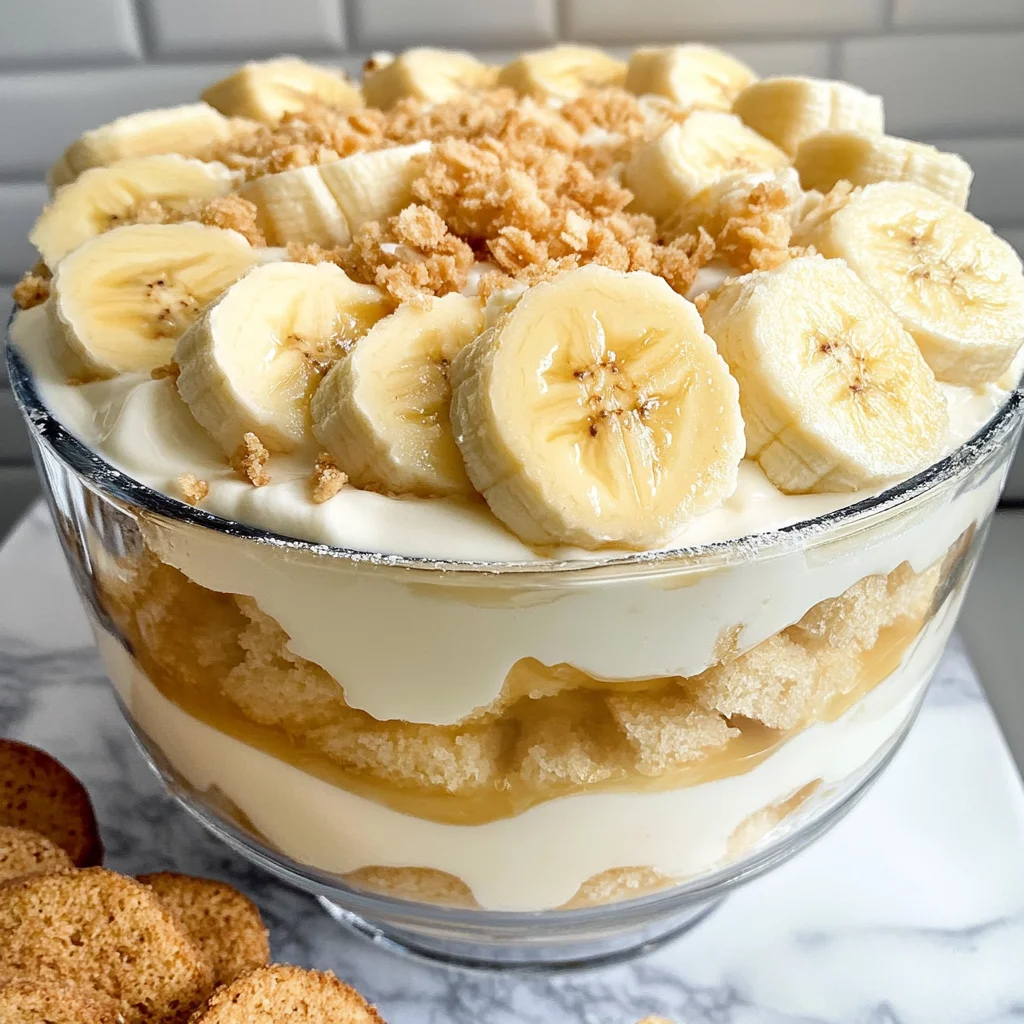
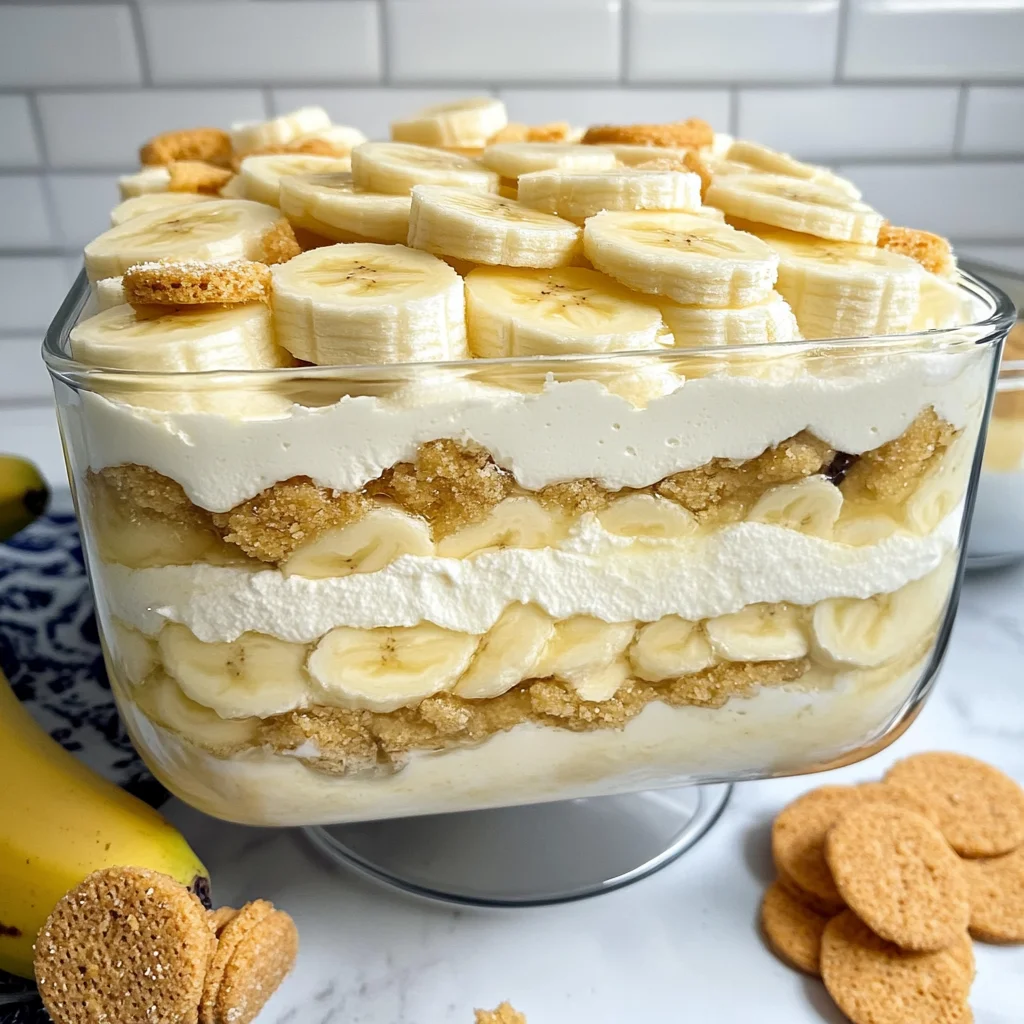
Easy Banana Pudding with Vanilla Wafers
If you’re looking for a dessert that brings smiles and sweet nostalgia, this Easy Banana Pudding with Vanilla Wafers is just what you need. It’s the kind of treat that reminds you of family gatherings and sunny days. With its creamy layers of vanilla pudding, ripe bananas, and crunchy vanilla wafers, it’s hard to resist! Plus, it’s a no-bake delight, making it perfect for busy weeknights or special occasions like Thanksgiving and Easter.
What I love most about this recipe is how simple it is to whip up. You can prepare it ahead of time and let the flavors meld overnight, making it a fantastic make-ahead dessert for any gathering. Trust me; your friends and family will be asking for seconds!
Why You’ll Love This Recipe
- Super Easy to Make: With just a few simple steps, you can create a delicious dessert without turning on the oven.
- Family-Friendly: Kids and adults alike will adore the creamy texture and sweet banana flavor.
- Make-Ahead Convenience: Prepare this pudding a day in advance for stress-free entertaining.
- Layered Goodness: Each bite offers a delightful mix of textures from the creamy pudding, soft bananas, and crunchy wafers.
- Versatile Treat: Perfect for any occasion, whether it’s a holiday feast or a casual get-together.
Ingredients You’ll Need
This Easy Banana Pudding with Vanilla Wafers uses simple, wholesome ingredients that are easy to find. You probably have most of them in your kitchen already!
For the Pudding Mixture
- 8 ounces softened cream cheese
- 14 ounce can sweetened condensed milk
- 2 (3.4 oz.) boxes instant vanilla pudding
- 2 3/4 cups cold milk
- 8 ounces Cool Whip, divided
For Layering
- 60 vanilla wafers (you may need more if using a 9 x 13 pan)
- 5-7 ripe bananas, sliced
Variations
This recipe is wonderfully flexible! Here are some fun variations to try:
- Add Some Fruit: Layer in other fruits like strawberries or blueberries for a colorful twist.
- Nutty Crunch: Sprinkle chopped nuts between the layers for added crunch and flavor.
- Chocolate Lovers: Drizzle melted chocolate over the layers or use chocolate pudding instead of vanilla.
- Dairy-Free Option: Substitute the cream cheese with dairy-free cream cheese and use coconut whipped topping.
How to Make Easy Banana Pudding with Vanilla Wafers
Step 1: Prepare the Cream Cheese Base
In a large mixing bowl, beat the softened cream cheese until smooth. This key first step ensures your pudding base is creamy without lumps. Add the sweetened condensed milk next and mix until combined. This adds richness and sweetness to your pudding.
Step 2: Mix the Pudding
In another bowl, whisk together the instant vanilla pudding mix with cold milk until smooth. This step is crucial as it activates the pudding mix to create that perfect creamy texture.
Step 3: Combine Together
Pour the prepared pudding mixture into the cream cheese mixture. Stir gently until completely combined. This blending creates that deliciously rich filling we all love!
Step 4: Fold in Cool Whip
Gently fold in half of the Cool Whip into your mixture. This lightens up your pudding while maintaining its creamy consistency—no one likes a dense banana pudding!
Step 5: Layer It Up
Start by lining the bottom of your dish with vanilla wafers. Then add sliced bananas on top before spreading an even layer of your pudding mixture over them. Repeat these layers until you run out of ingredients—aiming for about four layers if using a trifle dish.
Step 6: Top It Off
Spread the remaining Cool Whip evenly over your final layer of pudding. Not only does this make it look beautiful, but it also adds an extra creamy finish!
Step 7: Chill Out!
Cover your dish with plastic wrap or a lid and chill in the refrigerator for at least four hours—overnight is best! This resting period allows all those lovely flavors to meld together beautifully.
Step 8: Serve with Style
Just before serving, crush extra Nilla Wafers on top for some added crunch! If you’re feeling fancy, offer fresh banana slices alongside each serving.
Step 9: Store Leftovers
If you have any leftovers (which is rare!), store them wrapped tightly in plastic wrap or in an airtight container in the fridge for up to four days.
Now you’re ready to impress your guests with this delightful Easy Banana Pudding with Vanilla Wafers! Enjoy every delicious bite!
Pro Tips for Making Easy Banana Pudding with Vanilla Wafers
Making the perfect Easy Banana Pudding is a breeze with these simple tips!
-
Use ripe bananas: Ripe bananas are sweeter and softer, making them easier to layer and enhancing the overall flavor of your pudding.
-
Chill overnight: Allowing your pudding to chill overnight not only helps the flavors meld together, but it also results in a creamier texture that everyone will love.
-
Layer thoughtfully: Start with a base layer of cookies, then alternate layers of bananas and pudding. This ensures every bite has a delightful combination of flavors and textures.
-
Add a touch of lemon juice: Squeezing a little lemon juice over banana slices before layering can prevent them from browning, keeping your dessert looking fresh and vibrant.
-
Experiment with flavors: While vanilla is classic, consider adding a hint of cinnamon or almond extract to the pudding mixture for a unique twist that will surprise your guests!
How to Serve Easy Banana Pudding with Vanilla Wafers
Serving this delightful dessert can be as fun as making it! Here are some creative ways to present your Easy Banana Pudding.
Garnishes
-
Fresh mint leaves: A sprinkle of fresh mint adds a pop of color and a refreshing taste that complements the sweetness of the pudding.
-
Chocolate shavings: For chocolate lovers, topping your pudding with chocolate shavings introduces an indulgent element that pairs beautifully with banana.
-
Caramel drizzle: A light drizzle of caramel sauce on top not only enhances the flavor but also gives an enticing visual appeal.
Side Dishes
-
Grilled fruit skewers: Skewers featuring grilled pineapple, peaches, or strawberries add a smoky sweetness that contrasts nicely with the creamy pudding.
-
Classic fruit salad: A fresh fruit salad brings brightness and balances out the richness of the pudding, making it an ideal side dish for any gathering.
-
Miniature cheesecakes: Individual cheesecakes provide another layer of dessert indulgence while staying within the same comforting flavor family as banana pudding.
-
Lemon bars: The tartness of lemon bars can cut through the creaminess of the pudding, providing a refreshing finish to your meal.
With these serving suggestions, you’ll be well-equipped to wow your guests at your next event! Enjoy digging into this delicious treat!
Make Ahead and Storage
This Easy Banana Pudding with Vanilla Wafers is perfect for meal prep! With its layers of creamy goodness and delightful crunch, it’s not only a crowd-pleaser but also easy to make ahead of time. Just whip it up, chill it, and enjoy when you’re ready!
Storing Leftovers
- Store leftover banana pudding in an airtight container.
- Alternatively, wrap it tightly with plastic wrap.
- Keep it in the refrigerator for up to 3-4 days.
Freezing
- It’s best to avoid freezing this dessert, as the texture of the bananas and cream can change.
- If you must freeze, separate the layers of banana pudding into smaller servings.
- Thaw in the fridge overnight before serving, but expect some texture changes.
Reheating
- This dish is served cold and does not need reheating.
- For best results, enjoy straight from the fridge!
FAQs
Here are some common questions about this delicious dessert!
Can I use regular pudding instead of instant for Easy Banana Pudding with Vanilla Wafers?
Using instant pudding is recommended for the best texture and ease. Regular pudding requires cooking, which adds time and complexity.
How long does Easy Banana Pudding with Vanilla Wafers last in the fridge?
When stored properly in an airtight container or wrapped well, your banana pudding will stay fresh for 3-4 days in the refrigerator.
Can I substitute any ingredients in Easy Banana Pudding with Vanilla Wafers?
Yes! You can use dairy-free cream cheese and whipped topping if you’re looking for non-dairy options. Just ensure that any substitutes fit your dietary preferences.
Is there a way to make this recipe lower in sugar?
You can opt for sugar-free vanilla pudding mix or reduced-sugar sweetened condensed milk to lower the overall sugar content while still enjoying a tasty treat.
Final Thoughts
I hope you find joy in making this Easy Banana Pudding with Vanilla Wafers! It’s such a comforting dessert that’s perfect for any gathering or just a quiet night at home. No matter where you serve it, I’m sure it will bring smiles all around. Enjoy every creamy bite!
Easy Banana Pudding with Vanilla Wafers
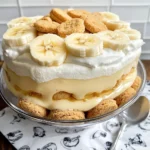
Treat yourself to this delightful Easy Banana Pudding with Vanilla Wafers, a nostalgic dessert that combines creamy layers of vanilla pudding, ripe bananas, and crunchy vanilla wafers. This no-bake treat is perfect for busy weeknights or special gatherings, allowing you to prepare it ahead of time and let the flavors meld together overnight. Whether you’re celebrating a holiday or enjoying a casual get-together, this layered dessert is guaranteed to bring smiles to everyone’s faces. With its simple preparation and kid-friendly appeal, it’s an indulgence that will have your family asking for seconds!
- Prep Time: 20 minutes
- Cook Time: None
- Total Time: 0 hours
- Yield: Serves 12 1x
- Category: Dessert
- Method: No-Bake
- Cuisine: American
Ingredients
- 8 ounces softened cream cheese
- 14-ounce can sweetened condensed milk
- 2 (3.4 oz.) boxes instant vanilla pudding
- 2 3/4 cups cold milk
- 8 ounces Cool Whip, divided
- 60 vanilla wafers
- 5–7 ripe bananas, sliced
Instructions
- In a large bowl, beat softened cream cheese until smooth. Mix in sweetened condensed milk until well combined.
- In another bowl, whisk instant vanilla pudding mix with cold milk until smooth.
- Combine the pudding mixture into the cream cheese mixture and stir gently until fully blended.
- Fold in half of the Cool Whip until light and fluffy.
- Layer the bottom of your dish with vanilla wafers and add sliced bananas; spread a layer of pudding over them.
- Repeat layers until all ingredients are used, finishing with pudding on top.
- Spread remaining Cool Whip over the final layer and chill in the refrigerator for at least four hours or overnight before serving.
Nutrition
- Serving Size: 1 cup (180g)
- Calories: 290
- Sugar: 30g
- Sodium: 210mg
- Fat: 14g
- Saturated Fat: 8g
- Unsaturated Fat: 4g
- Trans Fat: 0g
- Carbohydrates: 38g
- Fiber: 1g
- Protein: 4g
- Cholesterol: 30mg